

Upload Extension To Chrome Store

In my previous article I wrote, I talked about the building blocks of a Chrome extension. Now, I would like to focus on the other part of building a Chrome extension: what to do when you are done building it. The process in itself is not long nor hard, but there are some things you should pay attention to.
Every Chrome extension is published on the Chrome Web Store. Think of it as the equivalent to Google's Play Store or Apple's App Store, but only for Chrome extensions and themes.
Steps
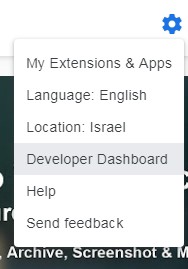
If you haven't created one already, you will need to create a Developer account. In it, you will have a Developer Dashboard.
As I stated in the previous article, there is a $5 one time signup fee if you want to be able to publish Chrome extensions. This will give you the ability to publish up to 20 extensions
Once you are the proud owner of a Developer account, the next step is to upload your Chrome extension to your account. To do this, create a ZIP file with all the files associated with your extension. The only file Google requires you to upload is the manifest.json file. But you will want to add the JavaScript files you have as well.
After that, the next step is to publish our extension. Login to your developer account and go to your Developer Dashboard.
There you will see an Add New Item button.

⚠️ Be aware that once you add an extension to your Developer Dashboard you cannot delete it. As long as it is not published, it will not count towards your extension limit.
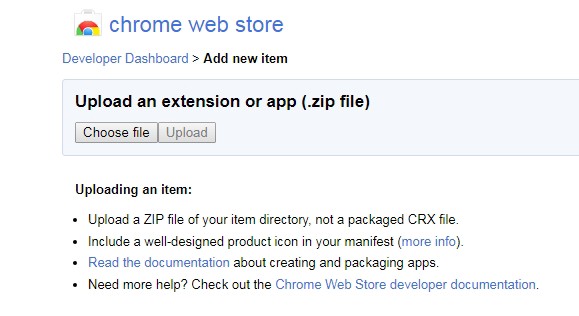
This will direct you to a page where you can upload the ZIP file we created earlier:
Assuming everything went fine, you will be directed to the next page:
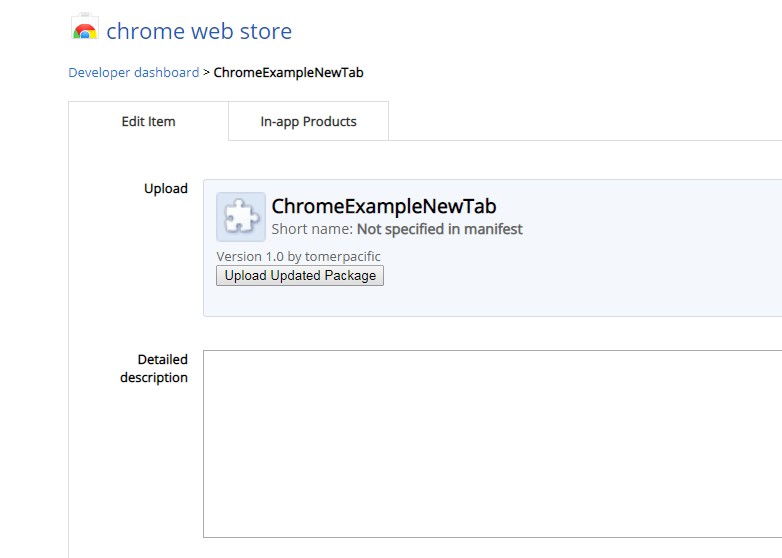
If you are planning to make changes to your extension, you can use the Upload Updated Package button to re-upload your ZIP file.
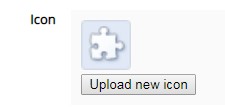
On this page, you can add an icon that will be shown on the toolbar:
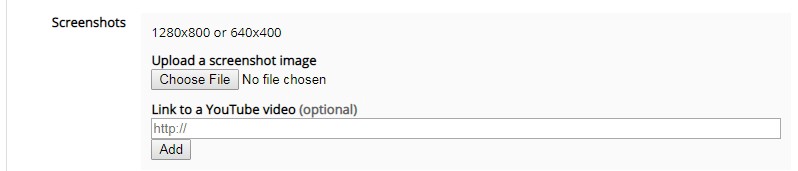
Add screenshots of your extension (these will be used when a user looks at your extension):
And various other features like choosing a Category for the extension (I.E. Fun), choosing the regions where your extension will be available, the pricing of your extension, and other categories which I suggest you take a look at.
When you are done fine tuning the details of your extension, you will arrive at the end of the page and see the following buttons:

The two left buttons allow you to save the work you have done so far configuring your extension (or discarding it), and the two right ones are for when you are ready to publish. To see how everything you configured will look on the Chrome Web Store, press the Preview Changes button. When you are satisfied with what you have, click Publish Changes.

Congratulations! You have just published your first Chrome Extension!
In your Developer Dashboard you will now see this:

Clicking the Stats link will give you analytics regarding your extension (how many impressions, installs and active users). I'm looking forward to seeing your published Chrome extensions.
Learn to code for free. freeCodeCamp's open source curriculum has helped more than 40,000 people get jobs as developers. Get started
Upload Extension To Chrome Store
Source: https://www.freecodecamp.org/news/how-to-publish-your-chrome-extension-dd8400a3d53/
Posted by: hortonextob1973.blogspot.com
0 Response to "Upload Extension To Chrome Store"
Post a Comment